How to Post Supplier Bills
When you receive a bill from a supplier it should be posted to Accounts Payable so that you know at all times how much you owe to each supplier and when the bills are due to be paid.
To post a bill from a supplier complete the following steps:
- Select the following menu path: Accounts Payable > Bills > Add Bills

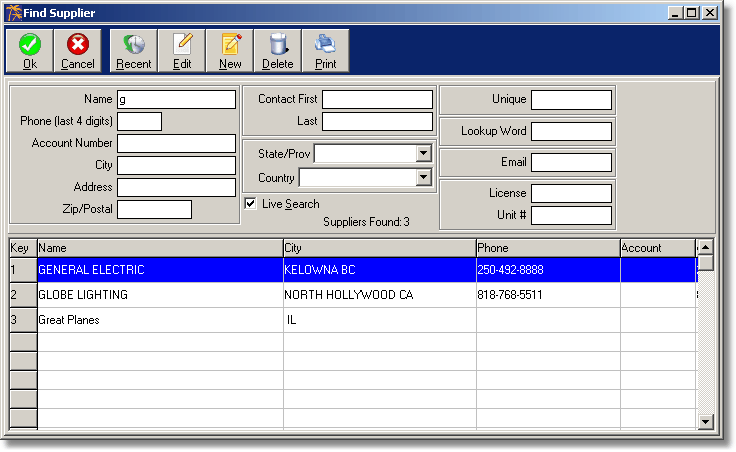
- The Find Supplier dialog box appears similar to the figure below. With the Live Search option checked you only need to type the first few letters of the supplier's name. Select the supplier.
- The Bill Entry window appears with the cursor in the Bill Number box:

- Enter the bill number, bill date, and due date (the due date is automatically calculated if the supplier record has a value in the Bill Due Days field.
- Click the POs tab to view a list of purchase orders for the supplier. The status of each purchase orders appears before the PO number.
Status definitions:
- C Completed (all items ordered have been received)
- A Active (items have been ordered, but not yet received)
- P Pending (items have been entered onto a PO
- B Back Order (some items were short-shipped)

- Select the purchase order(s) that the bill applies to by clicking in the left 'Select' column. A green check mark appears in the column indicating that it has been selected as shown in the figure below. The value of the purchase order is shown here in order to help reconcile that the amount received into inventory through the PO is the same as the billed amount.

- Click [Add PO Items] and select Add All Items or Add Summary, to add the value of the purchase orders to the bill. (Add All items adds a line to the bill for every line on the PO, Add Summary adds one line to the bill with an accumulated total):

- The Bill page now shows a posting to the Inventory ledger account 1200 (or to whatever the default ledger account is for this supplier), and based on the previous selection will show a single posting line, or multiple posting lines.
-
Note for Canadians: GST can be calculated using the G.S.T. button to deduct the tax from the amount of the value of the bill, or to add tax to the value of the bill. If multiple postings are on the bill, the tax should be entered manually, as the GST button calculates the tax based on the value in the field. Therefore the tax would need to be calculated for each line.

- To add a ledger account manually, place the cursor in the Ledger column on a vacant row, and type in the ledger account if known, (or click [Ledger Toolbar] to bring up the chart of accounts. Once selected, the cursor will be in the Amount column to allow you to enter the dollar value.
- After verifying that the total is correct, click [Save] to post the bill and return to the main menu, or click [New Bill] to stay in the bill entry screen. If you click New Bill you can select the next bill for a new supplier or for the same supplier.

