Creating Purchase Orders
Topic Overview
Depending on the size of your organization, you may have one or more people placing the orders with your suppliers. The orders are entered into the computer, printed out and then faxed, phoned or emailed to the supplier.
If the order is placed outside of the office, at a trade show for example, the orders should be entered immediately upon returning to the office.
There are three basic types of orders:
- Stocking orders: for refilling your shelves and showroom. The system examines the lows and highs of each item to determine what needs to be ordered (or you can use the Open to Buy system to determine, by sub-category, where your inventory is low).
- Special Orders: for filling orders placed by your customers for items that you normally do not keep in stock. Salespeople enter the customer special orders on Work Orders. These are automatically added to the special order queue for ordering. This allows one person to do the buying, instead of each salesperson making multiple phone calls and placing their own orders.
- Customer Back Orders: for filling orders placed by your customers for items that you normally have stock. Salespeople enter the customer back orders on Work Orders. These are automatically added to the back order queue for ordering.
To create a purchase order complete the following steps:
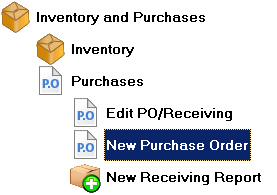
- Select the following menu path: Inventory and Purchases > Purchases > New Purchase Order:
- The Find Supplier dialog box appears similar to the figure below. With the Live Search option checked you only need to type the first few letters of the supplier's name:
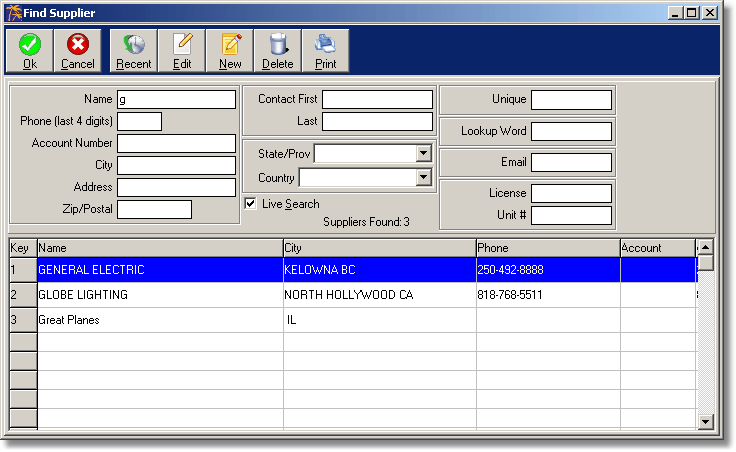
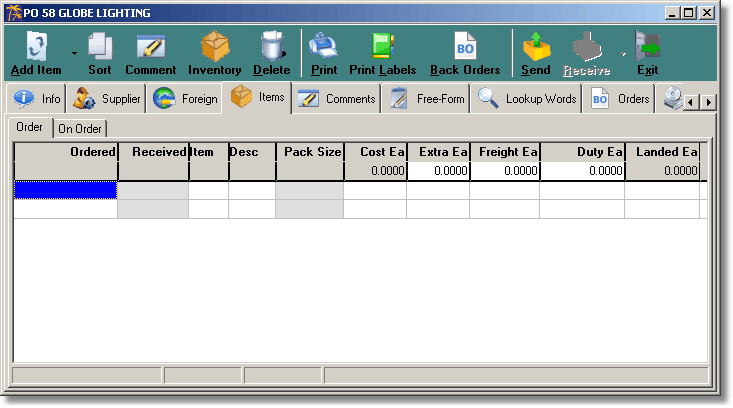
- Select the supplier and click [OK] or double-click on the supplier's name. The PO entry window opens on the Items page:
Note: The system will automatically generate the next PO number. If you wish to enter a specific PO number, click on the Info tab and enter it in the Number box similar to the figure shown below:
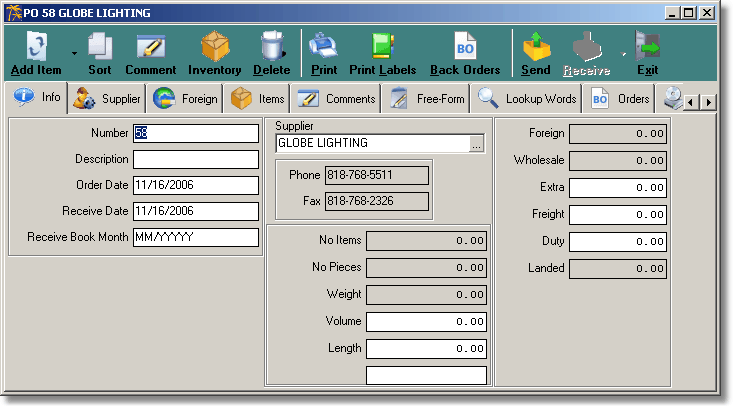
- On the Items page you can enter the part number you wish to order anywhere on the item rows or click [Add Item] to open the Part Find window.
- Once the items have been added adjust the quantity of each item you wish to order in the Ordered column on the Items page:
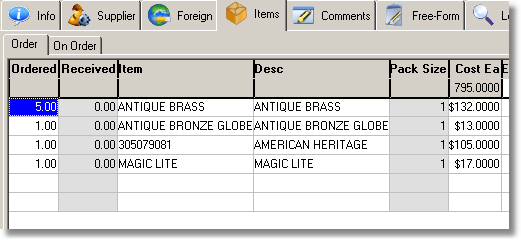
- If you wish to add Special Orders, Queued Orders or Suggested Orders to this PO, click on the Orders tab. See Special Orders to view details.

- After adding all items to the PO click [Send] to update the order status and print the PO.

- The Send Purchase Order dialog appears as shown below.
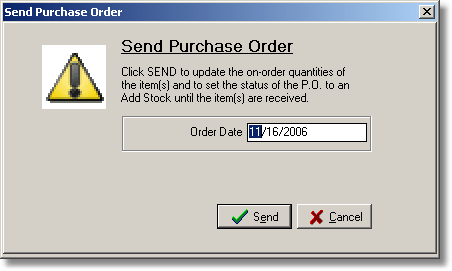
- Click [Send] to confirm the send date. The Purchase Order Print Options dialog box appears similar to the one shown below. This dialog box allows you to choose the form you wish to print (if you have designed more than one) and what special order information you wish to print. Normally you should only have the Print Comments option checked as shown below:
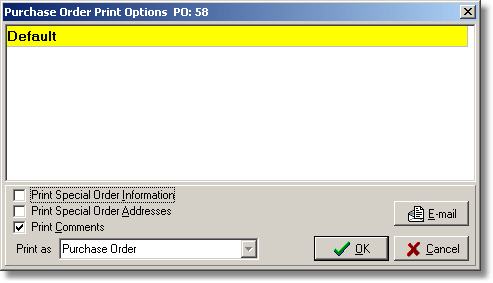
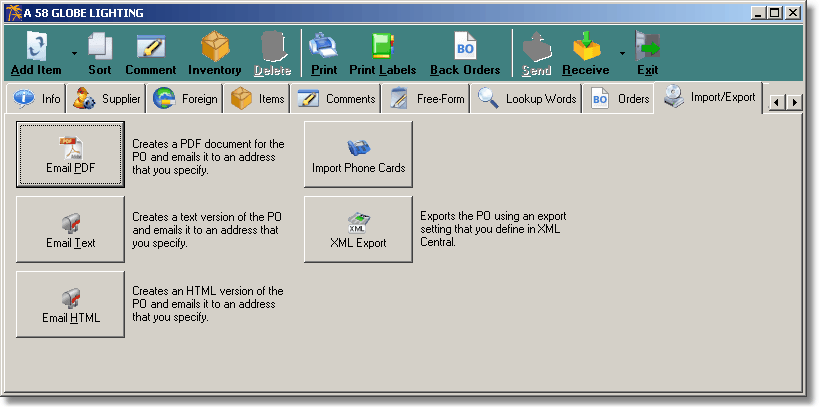
Note: The PO can also be emailed directly from the Import/Export tab of the PO as shown in the example below:
